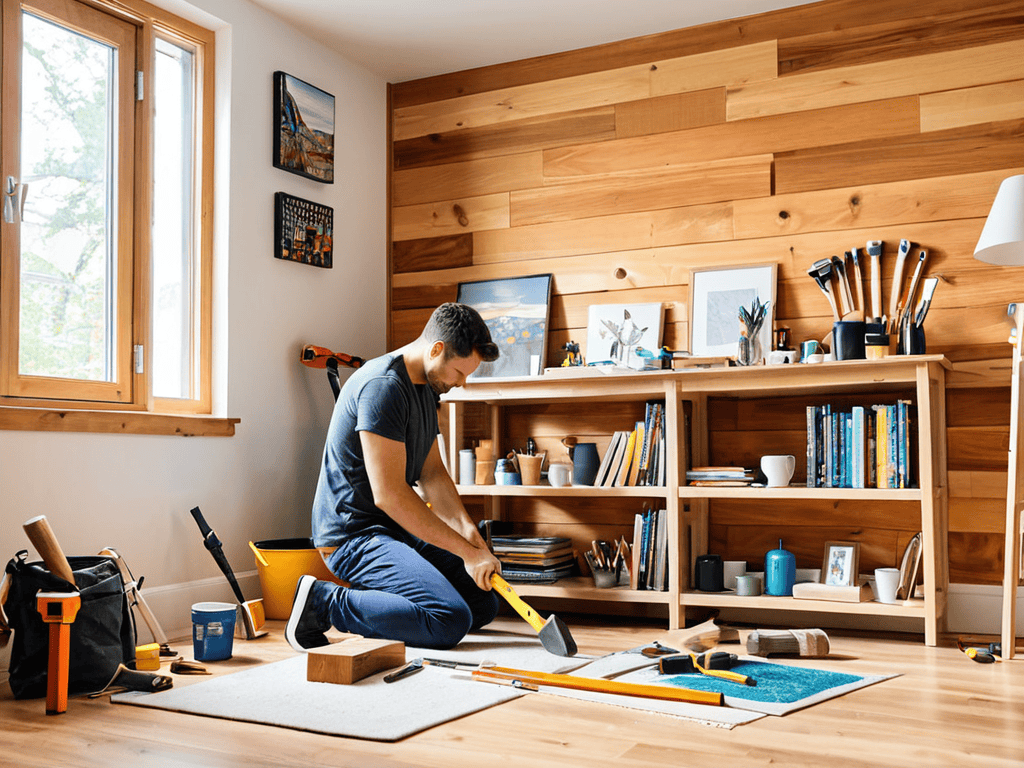
I still remember the day I decided to tackle my first DIY home project – a simple bookshelf that ended up taking me an entire weekend to finish. The frustration, the sweat, and the sense of accomplishment that followed are etched in my memory forever. It’s a feeling that’s hard to describe, but it’s what drives me to keep creating, to keep pushing the boundaries of what I thought was possible. The myth that DIY home projects are only for the pros or the extremely handy is just that – a myth. With the right mindset and a bit of patience, anyone can dive into the world of DIY and come out with something truly amazing.
In this article, I’ll share with you my honest and practical advice on how to approach DIY home projects without feeling overwhelmed. You’ll learn how to set realistic goals, choose the right tools for the job, and most importantly, how to have fun with the process. I’ll cut through the noise and give you the no-hype, straightforward guidance you need to get started on your own DIY journey. Whether you’re a seasoned pro or a complete beginner, my goal is to empower you with the knowledge and confidence to take on any DIY home project that comes your way.
Table of Contents
Guide Overview: What You'll Need
Total Time: 1 hour 45 minutes
Estimated Cost: $50 – $100
Difficulty Level: Intermediate
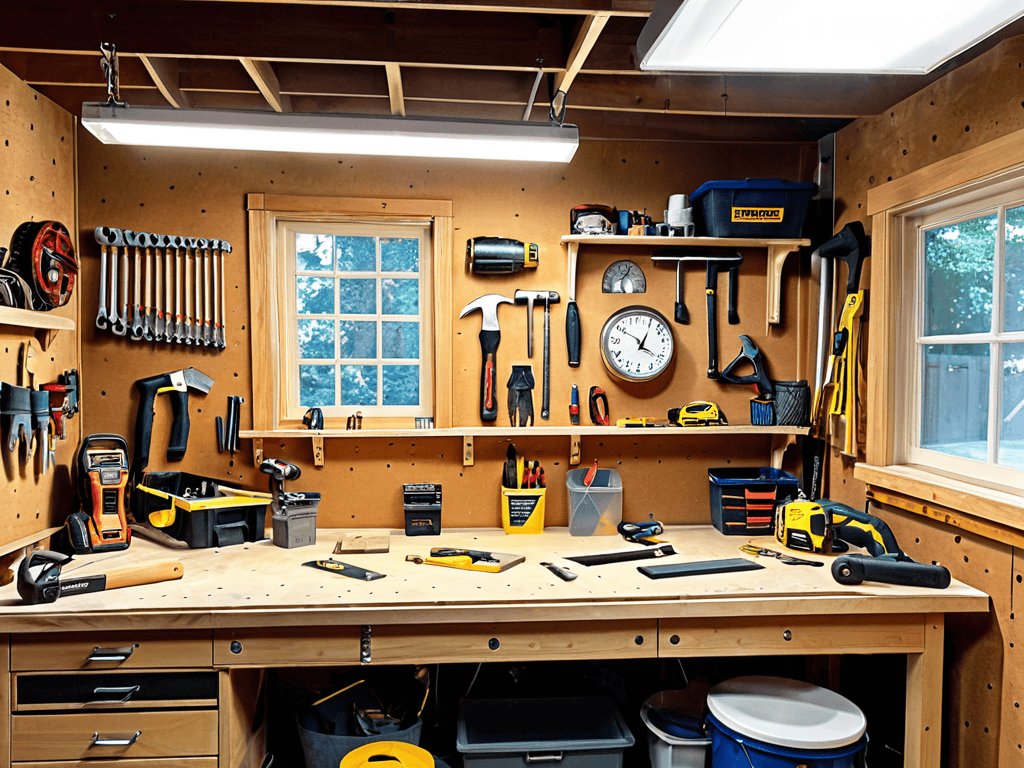
Tools Required
- Drill (with screwdriver and drill bits)
- Tape Measure
- Level
- Pencil
Supplies & Materials
- 2-in x 4-in lumber (for shelving)
- Drywall Anchors
- Paint (optional)
- Decorative Trim (optional)
Step-by-Step Instructions
- 1. First, gather your tools and materials, because let’s face it, you can’t start a DIY project without them. Make a list of what you need, and check it twice – you don’t want to be halfway through your project and realize you’re missing a crucial piece.
- 2. Next, clear the area where you’ll be working. This means moving any furniture, covering your floors, and removing any breakable items. You don’t want to risk damaging anything or having to clean up a huge mess when you’re done.
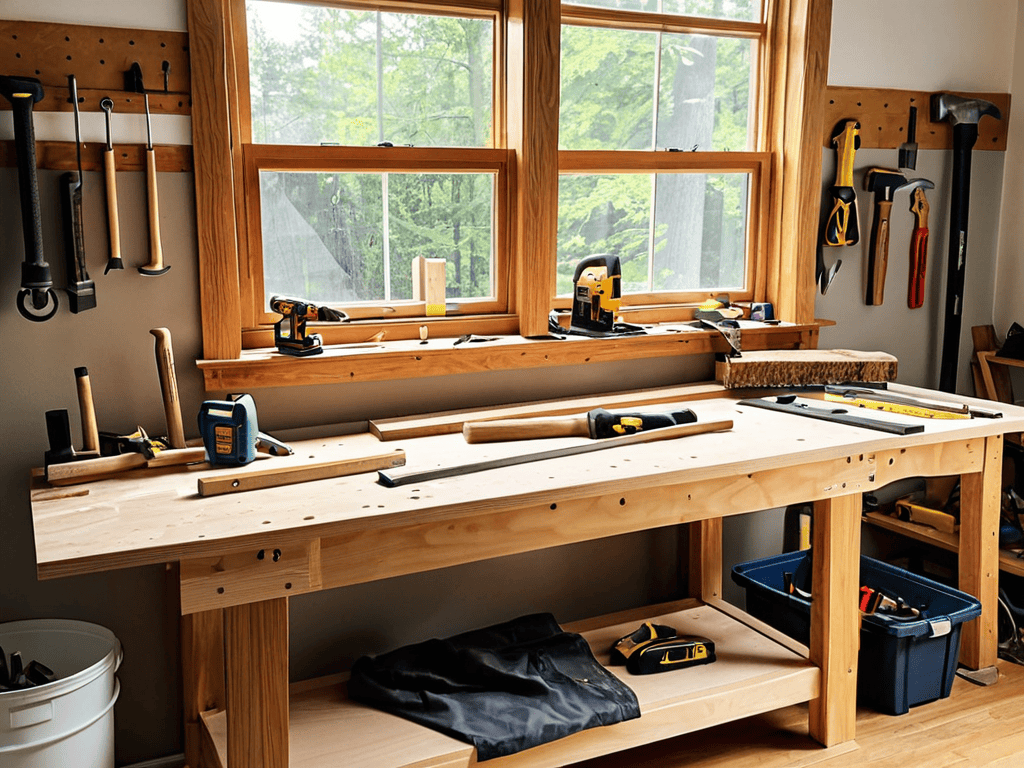
- 3. Now it’s time to start with the basics. If you’re doing a painting project, this means washing the walls and fixing any holes. If you’re building something, this means cutting your wood and assembling the frame. Take your time, and make sure everything is level and secure.
- 4. Once you have your foundation laid, it’s time to add the details. This could be anything from adding a second coat of paint to installing hardware on your newly built cabinets. Pay attention to the little things, because they can make or break the overall look of your project.
- 5. As you’re working, don’t be afraid to make mistakes. They’re inevitable, and they can often lead to new and interesting ideas. The key is to learn from them, and not be too hard on yourself. Remember, it’s just a DIY project – it’s not the end of the world if it’s not perfect.
- 6. After you’ve completed the main part of your project, it’s time to add the finishing touches. This could be anything from installing new lighting to adding decorative trim. Take a step back, and make sure everything looks good and functions properly.
- 7. Finally, take a step back and admire your work. You’ve earned it, after all. Take photos, show it off to your friends and family, and enjoy the sense of pride and accomplishment that comes with completing a DIY project.
Diy Home Projects
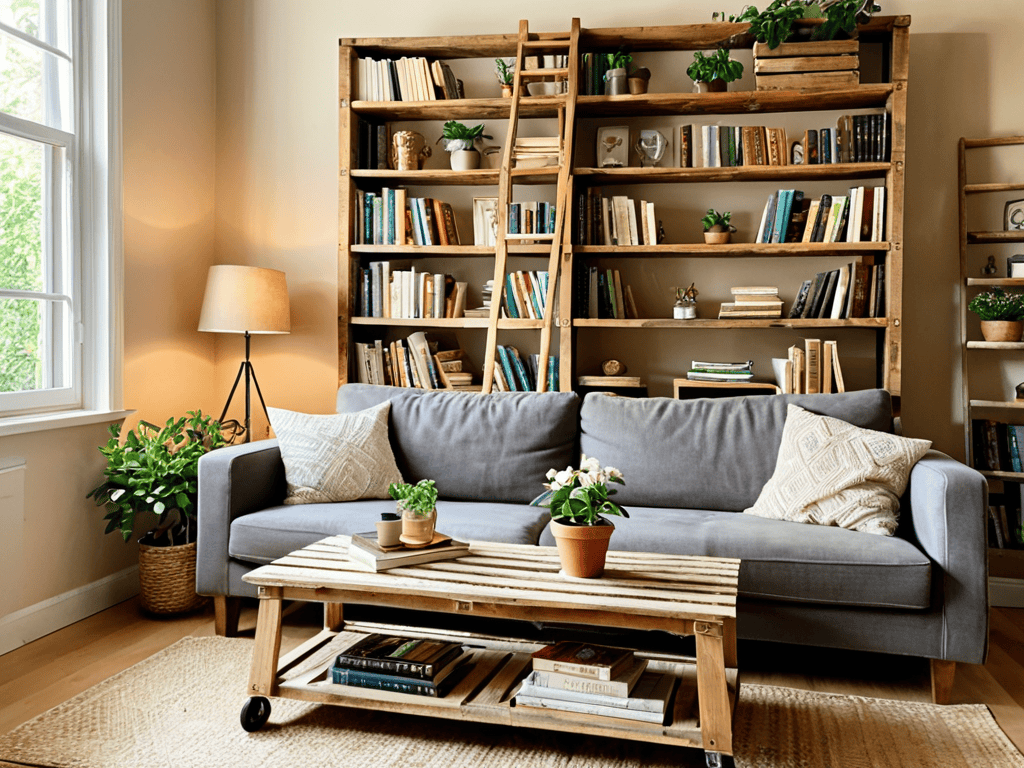
When it comes to giving your home a fresh new look, budget friendly renovation ideas can be a game-changer. One of the most effective ways to do this is by upcycling old furniture. Not only is it eco-friendly, but it also allows you to add a personal touch to your space. For instance, you can turn an old pallet into a unique coffee table or transform a vintage ladder into a quirky bookshelf.
To take your DIY skills to the next level, consider exploring easy woodworking projects for beginners. This can include building a simple shelving unit or creating a customized picture frame. Remember to always work with sustainable home building materials to minimize your environmental footprint. By doing so, you’ll not only be creating something beautiful, but also contributing to a more eco-friendly lifestyle.
As you embark on your DIY journey, keep in mind that space saving design tips can be incredibly valuable, especially for smaller homes. Look for creative ways to maximize your space, such as using multi-functional furniture or opting for minimalist decor. With a little patience and imagination, you can turn your home into a cozy and functional oasis that reflects your personal style, all while staying within your means and embracing diy home decor on a budget.
Budget Friendly Renovation Ideas
When it comes to giving your home a fresh new look, you don’t have to break the bank. Budget friendly renovation ideas can be just as effective as their pricey counterparts. Consider repurposing old items, like turning vintage windows into mirrors or using mason jars as pendant lights. You can also get creative with paint, using bold colors to add a pop of personality to a room without committing to a full-scale renovation.
By thinking outside the box and getting a little crafty, you can achieve professional-looking results on a shoestring budget. Plus, the sense of satisfaction you’ll get from creating something with your own two hands is priceless. Whether you’re a seasoned DIY pro or a total newbie, there are plenty of budget friendly renovation ideas out there to suit your style and skill level.
Upcycling Old Furniture Tips
As you’re working on your DIY home projects, it’s essential to have a solid network of resources to turn to when you need a little inspiration or guidance. I’ve found that scouring local online classifieds, like nzgirls, can be a great way to find unique materials or even second-hand furniture to upcycle into something truly one-of-a-kind. By thinking outside the box and exploring these types of resources, you can add a personal touch to your projects and make them truly special, all while staying within your budget and embracing the thrill of the hunt for hidden gems.
Give old furniture a new lease on life by upcycling it into unique pieces that add character to your home. Start by scouting thrift stores, garage sales, or your own attic for hidden gems. Look for items with good bones, like a sturdy wooden frame or a comfortable cushion. Then, get creative with paint, stains, or decoupage to give your find a fresh new look. You can turn an old dresser into a one-of-a-kind kitchen island or transform a vintage ladder into a quirky bookshelf. With a little imagination, you can breathe new life into old, discarded furniture and create truly one-of-a-kind pieces that reflect your personal style.
Hammering Out the Details: 5 Essential DIY Home Project Tips
- Measure Twice, Cut Once: Double-Check Your Measurements to Avoid Costly Mistakes
- Get Creative with Repurposing: Think Outside the Box When It Comes to Upcycling Old Materials
- Lighting Makes a Difference: Consider Installing New Fixtures to Brighten Up a Room
- Don’t Be Afraid to Ask for Help: Recruit a Friend or Family Member to Lend a Hand with Heavy-Lifting Tasks
- Add a Personal Touch: Incorporate Unique Decorative Elements to Make Your DIY Project Truly One-of-a-Kind
Key Takeaways to Nail Your DIY Home Project
Get creative and breathe new life into old items by upcycling them, giving your space a unique touch without breaking the bank
Prioritize budget-friendly renovation ideas that pack a punch, such as painting, replacing lighting fixtures, or updating hardware on cabinets and drawers
Remember, the most important tool in your DIY arsenal is patience – take your time, make mistakes, and learn from them to create a space that truly reflects your personality
The DIY Revolution
DIY home projects aren’t just about hammering nails and painting walls, they’re about unleashing your creativity and turning your house into a home that tells your story.
Samuel Jenkins
Wrapping Up Your DIY Journey
As we conclude our dive into the world of DIY home projects, it’s essential to reflect on the journey. We’ve covered the basics, from budget-friendly renovation ideas to clever upcycling tips for old furniture. The key to a successful DIY project is planning and patience, ensuring that every step is carefully thought out and executed with precision. By embracing this mindset, you’ll not only save money but also infuse your home with a personal touch that makes it truly special.
So, as you put down your tools and step back to admire your handiwork, remember that DIY is about more than just fixing things; it’s about creating something with your own hands. It’s a journey of self-discovery, learning, and growth. Whether you’re a seasoned pro or a beginner, every DIY project is an opportunity to challenge yourself, to learn, and to create something that reflects your unique personality and style. So, go ahead, take on that next project, and watch your space transform into a reflection of your creativity and passion.
Frequently Asked Questions
What are some common mistakes to avoid when starting a DIY home project?
Don’t be a rookie – avoid skipping prep work, ignoring safety gear, and not measuring twice (cut once, duh!). Also, ditch the impulse buys and stick to your plan, or you’ll end up with a half-finished mess and a lighter wallet.
How can I determine if a DIY project is feasible for my skill level?
Honestly, feasibility is all about being real with yourself. Take a hard look at the project’s requirements and your own skills – don’t be afraid to YouTube some tutorials or ask a handy friend for advice if you’re unsure. Be honest, and you’ll avoid a world of frustration.
What are some essential tools that every DIY homeowner should have in their toolkit?
Alright, let’s get to the essentials! Every DIY homeowner needs a solid toolkit. I’m talking a hammer, tape measure, level, pliers, screwdrivers, and a utility knife. These babies will get you through most projects. Don’t forget a drill and some sandpaper for good measure. Now, go forth and create!