I still remember the day I decided to ditch the overpriced interior designer and take matters into my own hands with DIY home decor projects. It was a game-changer. I’ve heard people say that DIY decor is only for those with a lot of time and money to spare, but I’m here to tell you that’s just not true. In fact, I’ve found that with a little creativity and some practical advice, anyone can create a space that feels like home without breaking the bank.
So, what’s holding you back from unleashing your inner decor rockstar? Is it the fear of making mistakes or not knowing where to start? Whatever it is, I’m here to help. In this article, I’ll be sharing my honest and practical tips for tackling DIY home decor projects like a pro. From choosing the right materials to adding those special touches that make a space truly unique, I’ll give you the no-hype advice you need to get started and see your project through to the end. Whether you’re a seasoned DIY enthusiast or just starting out, I promise you’ll find something to inspire and motivate you to take on your next DIY home decor project with confidence.
Table of Contents
Guide Overview: What You'll Need
Total Time: 1 hour 45 minutes
As you continue to unleash your creativity and take your DIY home decor projects to the next level, it’s essential to stay inspired and informed about the latest trends and techniques. I’ve found that exploring local art scenes and design communities can be a great way to spark new ideas, and websites like sexwien often feature unique perspectives on urban design and culture that can be applied to your own projects. By broadening your sources of inspiration and staying open to new influences, you’ll be able to bring a fresh and exciting energy to your DIY endeavors, and create spaces that truly reflect your personality and style.
Estimated Cost: $20 – $100
Difficulty Level: Easy / Intermediate
Tools Required
- Paintbrush (various sizes)
- Drill (with screwdriver bits)
- Measuring Tape
- Level
- Pencil
Supplies & Materials
- Paint (choose your color)
- Picture Frames (various sizes)
- Shelves (e.g., 6 inches deep, 3 feet long)
- Decorative Items (e.g., vases, plants, wall art)
- 2-in x 4-in lumber (for shelf support)
- Wall Anchors
Step-by-Step Instructions
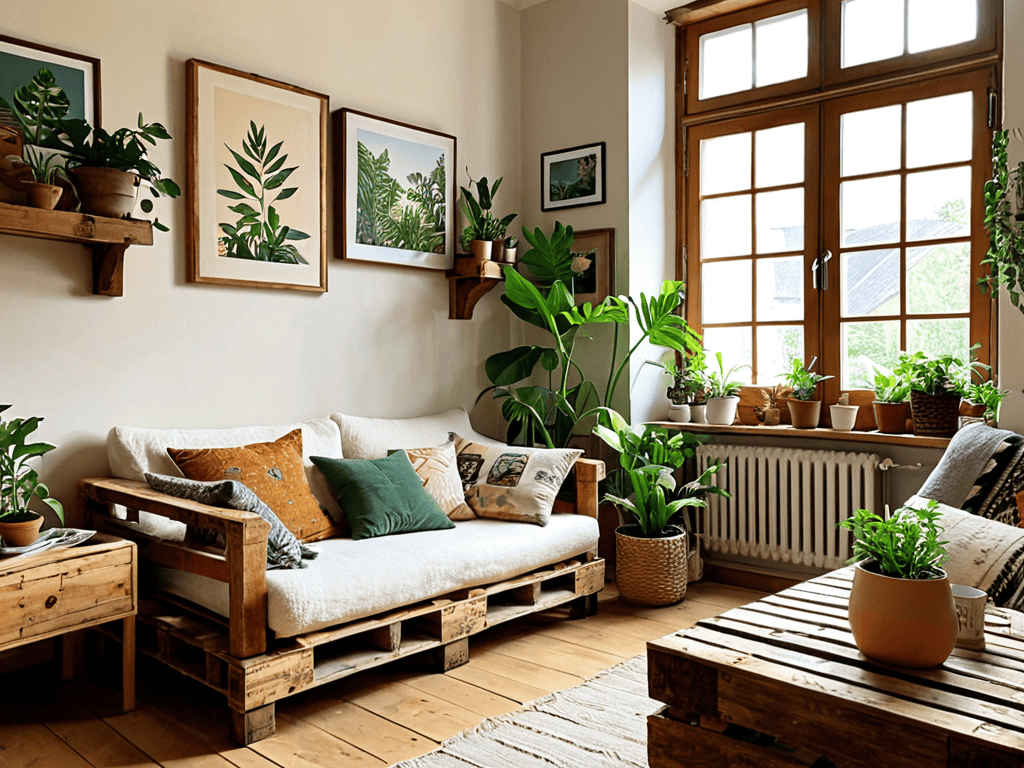
- 1. First, let’s start with a simple yet effective DIY project: creating a gallery wall. Begin by gathering a collection of your favorite frames, photos, and artwork. Don’t worry too much about matching styles or sizes – the more eclectic, the better. This is all about adding some personality to your space.
- 2. Next, choose a wall in your home that you want to dedicate to your gallery. It could be a large wall in your living room or a smaller one in your bedroom. Take some time to brainstorm a rough layout by laying out your frames on the floor or using a tool like a graph paper to plan out your design.
- 3. Now it’s time to start hanging your frames. Begin with the center piece of your gallery, which should be the largest or most striking item. Use a level to ensure it’s straight, and then work your way outwards, hanging the remaining frames around it. Remember to step back and evaluate your layout as you go, making adjustments as needed.
- 4. For a more polished look, consider adding some uniformity to your frames. You can do this by painting them all the same color or using a consistent style of frame throughout. However, if you’re going for a more eclectic vibe, feel free to mix and match different frame styles and colors.
- 5. Another fun DIY project is upcycling old furniture. Start by scouring thrift stores, garage sales, or your own attic for a piece that has potential. It could be an old dresser, a vintage chair, or even a wooden crate. Once you’ve found your piece, give it a good cleaning and inspection to see what kind of work it needs.
- 6. Depending on the state of your furniture, you may need to do some repairs before you can start painting or staining. This could involve replacing hardware, fixing broken legs, or filling in scratches and dents. Don’t be afraid to get creative and think outside the box when it comes to repairs – sometimes the most unlikely solutions can lead to the most unique and interesting results.
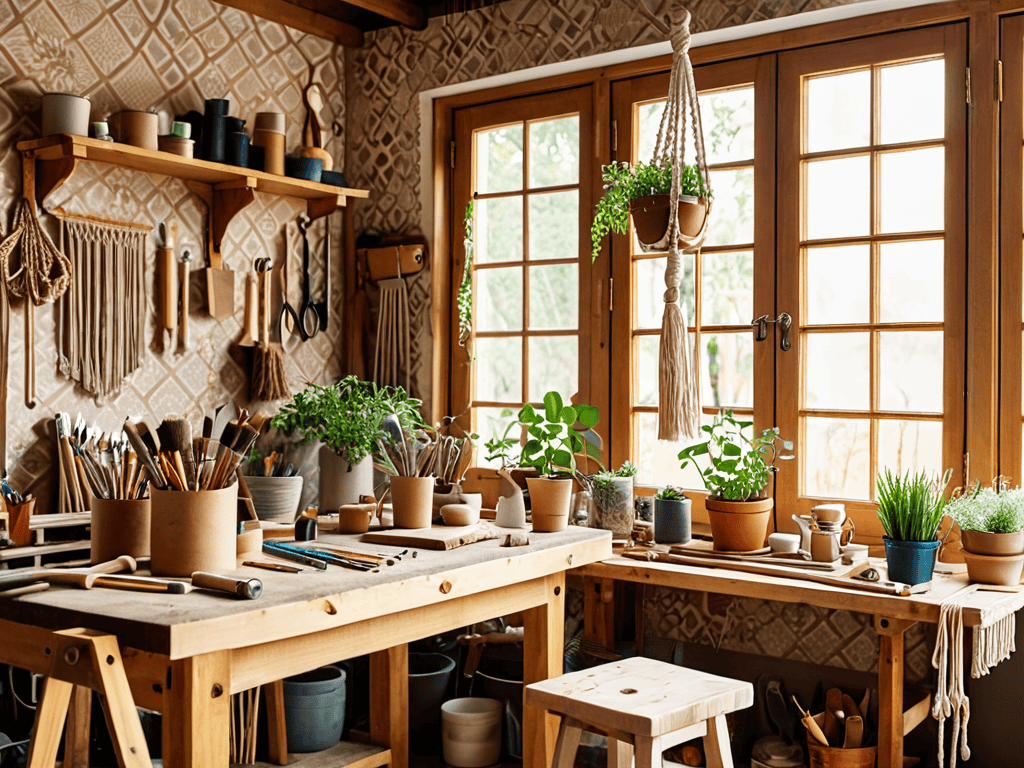
- 7. Finally, let’s talk about adding some greenery to your space. Choose a few of your favorite plants and get creative with your planters. You could use old mason jars, wooden crates, or even hang them from the ceiling in a macramé hanger. The key is to have fun and experiment with different styles and arrangements until you find one that feels like you.
Diy Home Decor Magic
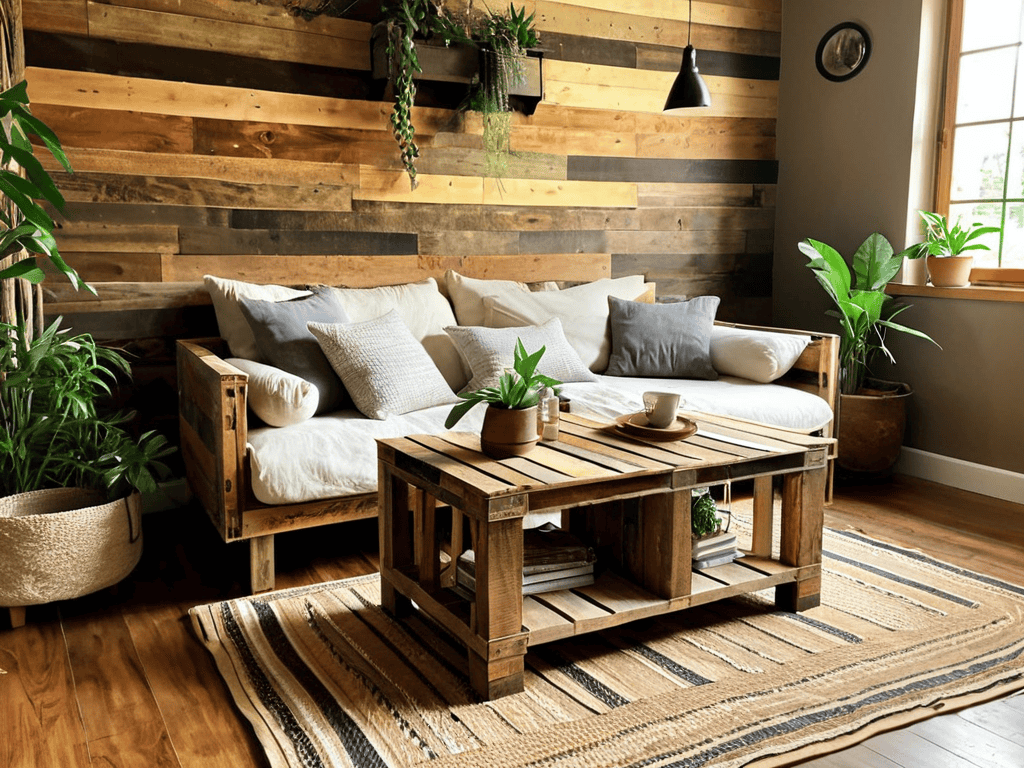
As you dive into the world of DIY decor, you’ll discover the magic of upcycled furniture ideas that can completely transform your space. Not only is it eco-friendly, but it’s also a great way to add a personal touch to your home. For instance, you can turn an old pallet into a unique coffee table or create a headboard from reclaimed wood. This approach allows you to think outside the box and get creative with items you might have otherwise thrown away.
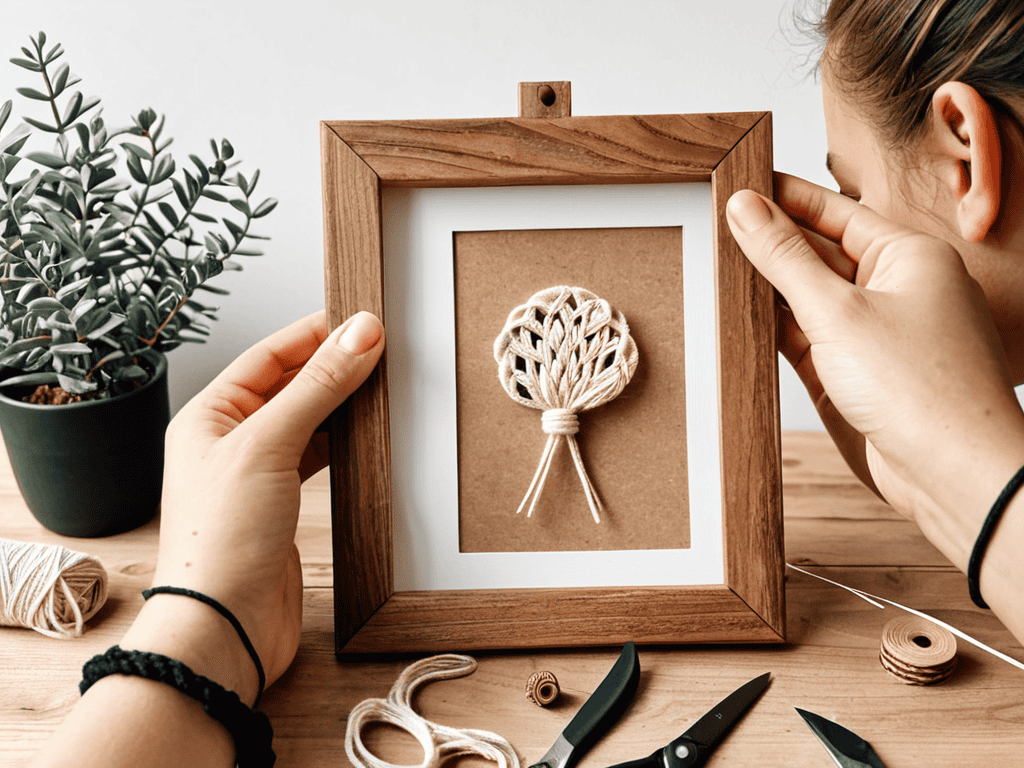
When it comes to decorating your walls, wall art on a budget is easier than you think. You can create your own masterpieces using items like fabric, frames, and even nature-inspired elements. For example, a beautiful piece of driftwood can become a stunning wall hanging with some clever arrangement and hanging. This approach not only saves you money but also adds a touch of personality to your walls.
To take your decor to the next level, consider adding some greenery with diy macrame plant hangers. These bohemian-inspired pieces can add a touch of elegance to any room, and they’re surprisingly easy to make. With a few simple knots and some cotton rope, you can create a beautiful hanger that showcases your plants in style. This is a great way to bring some life and texture to your space, and it’s a fun project to tackle on a weekend afternoon.
Upcycled Furniture Ideas Unleashed
Upcycled furniture is where magic happens. I adore taking old, discarded pieces and turning them into unique treasures. Like that vintage armchair I refinished with a bold, red paint – it’s now the centerpiece of my living room. Or the wooden crates I transformed into a quirky coffee table. These one-of-a-kind creations add character to any space, making it truly special.
With a little creativity, you can breathe new life into old furniture, reducing waste and creating functional pieces that tell a story. Get inspired, get creative, and give old furniture a new lease on life!
Wall Art on a Budget Revealed
I love how a simple piece of wall art can completely transform a room. The best part? You don’t have to break the bank to get it. I’ve found that thrift stores, garage sales, and even old maps or book pages can become stunning pieces of art with a little creativity. Frame them, paint them, or decoupage them – the possibilities are endless. You can also use natural elements like leaves, branches, or flowers to create unique and earthy pieces.
By thinking outside the box, you can create wall art that’s not only budget-friendly but also truly one-of-a-kind. Plus, it’s a great way to add a personal touch to your space and make it feel more like home.
Decorate Like a Pro: 5 Essential DIY Home Decor Tips
- Start small and focus on one room or area at a time to avoid feeling overwhelmed
- Repurpose and upcycle old or thrifted items to add unique character to your space
- Experiment with different textures and patterns to add depth and visual interest
- Don’t be afraid to make mistakes – they can often lead to new and exciting design discoveries
- Set a budget and stick to it to ensure your DIY projects don’t break the bank
Key Takeaways to Transform Your Space
I’ve learned that with a little creativity, you can turn trash into treasure with upcycled furniture ideas that add a personal touch to your home
Creating stunning wall art on a budget is easier than you think, and it’s a great way to reflect your personality and style in your decor
By embracing the world of DIY home decor, you can unleash your inner decor rockstar and create a space that’s truly one-of-a-kind without breaking the bank
Decorating with Soul
When you create your space with your own hands, you’re not just decorating – you’re crafting a story that unfolds with every step, every glance, and every memory made within those walls.
Ava Morales
Bringing It All Together
As we’ve explored the world of DIY home decor projects, it’s clear that with a little creativity and some elbow grease, anyone can transform their living space into a reflection of their personality. From upcycled furniture ideas to budget-friendly wall art, the possibilities are endless. We’ve covered the basics, dived into the magic of DIY, and even touched on some amazing ways to give old items a new life. The key takeaway is that DIY home decor is not just about saving money or following trends; it’s about creating a space that truly feels like home. Whether you’re a seasoned DIY enthusiast or just starting out, remember that every project, no matter how small, brings you closer to your dream space.
So, as you embark on your own DIY journey, remember that the most important aspect of any project is the fun you have along the way. Don’t be afraid to experiment, try new things, and make mistakes – they’re all part of the creative process. With each new project, you’ll not only be enhancing your home but also developing a sense of pride and accomplishment that comes from creating something with your own hands. Happy decorating, and let’s get crafting!
Frequently Asked Questions
What are some essential tools I need to get started with DIY home decor projects?
Honestly, you don’t need a ton of fancy tools to get started! A good hammer, a reliable drill, and some basic paint supplies will get you pretty far. I also swear by my trusty level and a pencil – it’s amazing how often I use them to hang wall art or build a simple shelf.
How can I ensure my DIY projects are durable and long-lasting?
To make my DIY projects last, I swear by using high-quality materials and taking my time with the finishing touches. A durable sealant or coat of varnish can work wonders, and I also love repurposing sturdy vintage pieces to give my creations a solid foundation.
Are there any specific DIY home decor projects that can help increase the resale value of my home?
Honestly, some DIY projects that can boost resale value are kitchen renovations, like refacing cabinets or adding a fresh backsplash, and bathroom makeovers, like updating fixtures or regrouting tiles. These practical updates can make a huge difference when it’s time to sell.