I still remember the day I realized that my kitchen had become a war zone – cluttered counters, overflowing cabinets, and a sink that seemed to be constantly filled with dirty dishes. It was then that I decided to take matters into my own hands and create a guide to organizing your kitchen that actually worked. I started by breaking down the space into smaller, manageable areas, and before I knew it, the chaos began to dissipate. As a professional organizer and life systems coach, I’ve since helped numerous clients achieve similar results, and I’m excited to share my expertise with you.
In this article, I’ll provide you with practical, step-by-step advice on how to transform your kitchen from a cluttered nightmare into a functional and peaceful space. You’ll learn how to prioritize your needs, purge unnecessary items, and implement systems that will keep your kitchen organized for the long haul. My approach is centered around creating customized solutions that cater to your unique lifestyle and preferences, rather than relying on generic tips or one-size-fits-all approaches. By the end of this guide, you’ll be equipped with the knowledge and tools necessary to create a kitchen that truly works for you, and not against you.
Table of Contents
Guide Overview: What You'll Need
Total Time: 4 hours 30 minutes
Estimated Cost: $50 – $100
Difficulty Level: Intermediate
Tools Required
- Label Maker (with extra labels)
- Step Stool (for high shelves)
- Measuring Tape (for custom storage)
- Level (for hanging items)
- Screwdriver (with flathead and Phillips tips)
Supplies & Materials
- Stackable Containers (various sizes)
- Adhesive Hooks (for hanging items)
- Shelf Liners (for easy cleaning)
- Drawer Dividers (custom or adjustable)
- Pegboard (for hanging tools and accessories)
Step-by-Step Instructions
- 1. First, let’s start by clearing the clutter from your kitchen counters and tables. Take everything off and sort items into categories, such as baking supplies, cooking utensils, and appliances. This will give you a sense of what you have and help you decide what to keep, donate, or throw away. As you sort, try to be ruthless about getting rid of items that are broken, expired, or no longer useful.
- 2. Next, focus on your kitchen cabinets. Take out all the contents and wipe down the shelves to give yourself a clean slate. Then, group similar items together, such as all your dinner plates, bowls, and cups. Consider the frequency of use for each item and store your most-used dishes in easy-to-reach locations.
- 3. Now it’s time to optimize your storage. Invest in some stackable containers or baskets to store dry goods like pasta, rice, and snacks. Label each container so you can easily find what you need. For your pantry, consider using a step-by-step system to categorize items, such as grouping all your baking supplies together.
- 4. Move on to your kitchen drawers and implement a divider system. Use dividers or small containers to separate items like utensils, spices, and cooking tools. This will help you find what you need quickly and prevent clutter from building up again. Be sure to measure your drawers before buying dividers to ensure a proper fit.
- 5. Let’s tackle the refrigerator and freezer. Take everything out and check expiration dates. Throw away any expired or spoiled items and wipe down the shelves. Then, group similar items together, such as all your leftovers or condiments. Consider using labels and stickers to mark containers and shelves, making it easier to find what you need.
- 6. Now, focus on creating a maintenance routine. Set aside some time each week to tidy up your kitchen, wiping down surfaces and putting away items that are out of place. This will help maintain your newly organized space and prevent clutter from building up again. Try to schedule it in your calendar so it becomes a habit.
- 7. Finally, take a step back and evaluate your newly organized kitchen. Make any necessary adjustments to your systems and storage solutions. Consider creating a flowchart to map out your kitchen’s layout and the location of frequently used items. This will help you visualize your space and make it easier to navigate.
A Guide to Organizing Your Kitchen
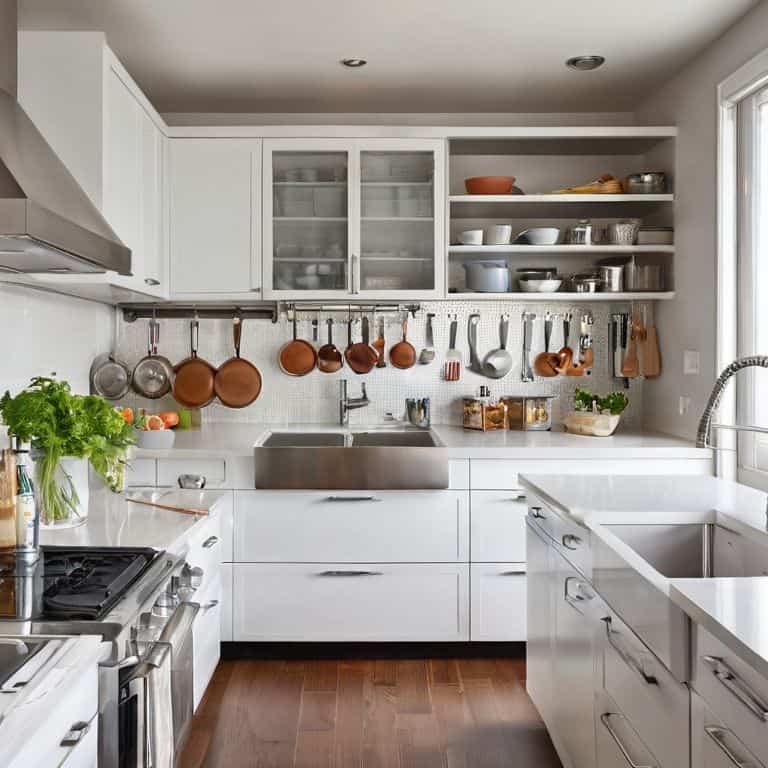
As you work through the process of organizing your kitchen, it’s essential to consider the kitchen layout design and how it impacts your workflow. Think about the paths you take most frequently – from the sink to the stove, or from the refrigerator to the countertops. By optimizing these routes, you can create a more _efficient kitchen workflow_. This might involve rearranging the placement of your kitchen cabinets or investing in custom storage solutions to maximize your space.
To make the most of your kitchen, focus on maximizing kitchen cabinet space. This can be achieved by using dividers, baskets, or other organizational tools to keep your belongings tidy and easily accessible. Don’t forget to apply the same principles to your countertops and _optimizing kitchen counter space_ by designating specific zones for food preparation, cooking, and cleaning. By doing so, you’ll be able to maintain a sense of calm and control, even in the midst of a busy cooking session.
When it comes to maintaining your newly organized kitchen, remember that _kitchen decluttering tips and tricks_ are key. Set aside time each week to wipe down surfaces, tidy up clutter, and ensure that everything is in its designated place. Consider implementing custom kitchen storage ideas, such as a spice rack or a utensil organizer, to keep your kitchen running smoothly and efficiently. By following these strategies, you’ll be well on your way to creating a kitchen that is both beautiful and functional.
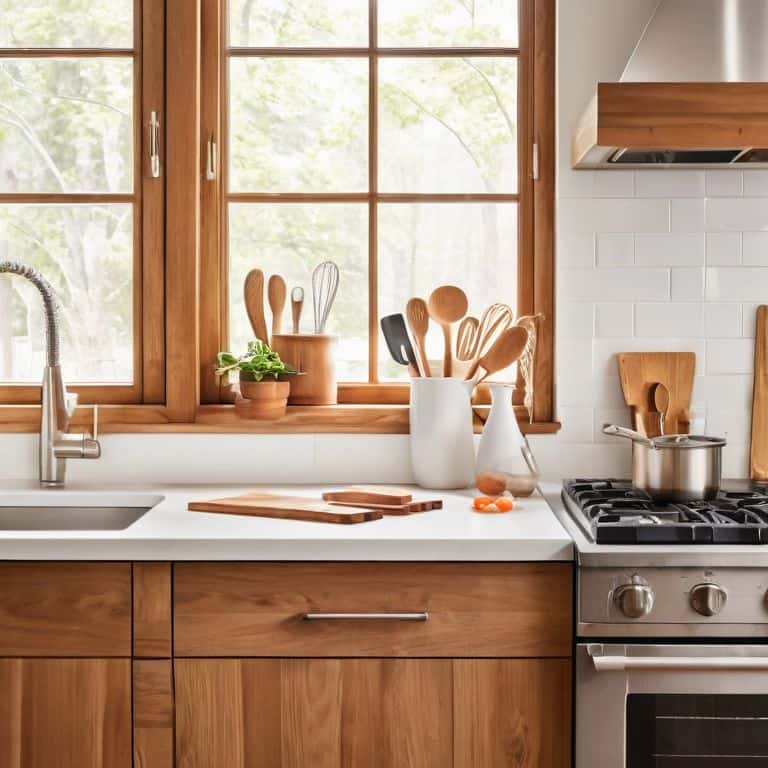
Efficient Kitchen Workflow Strategies
To achieve an efficient kitchen workflow, I recommend creating a “work zone” approach. Divide your kitchen into zones, such as a cooking zone, prep zone, and cleaning zone. This will help you navigate your kitchen with ease and reduce clutter. Start by identifying the activities you perform most frequently in your kitchen and group similar tasks together. For example, store all your cooking utensils and spices near the stove.
By streamlining your kitchen workflow, you’ll save time and energy. Consider the “work triangle” concept, where your sink, stove, and refrigerator form the points of a triangle. This layout minimizes walking distance and maximizes efficiency. Apply this principle to your zones to create a seamless workflow.
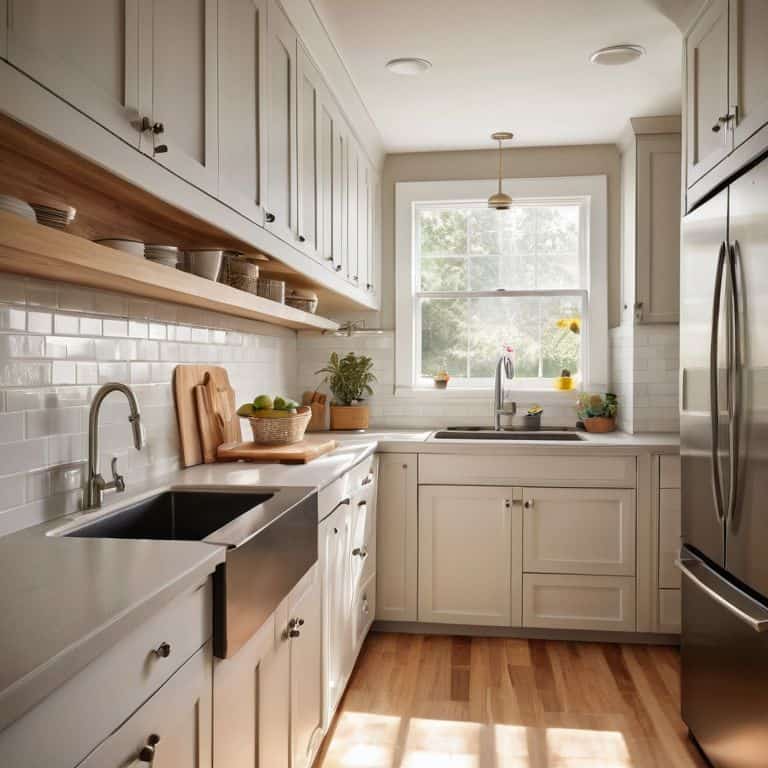
Maximizing Kitchen Cabinet Space
To maximize kitchen cabinet space, let’s get practical. Start by purging anything you don’t need or use – yes, that includes the cookie cutter from your aunt. Next, categorize your remaining items into groups like baking, cooking, and storage. Then, assign a home for each group within your cabinets. For example, dishes and glasses near the sink, and spices near the stove. Consider using stackable shelves, baskets, or dividers to make the most of your cabinet’s vertical space.
By doing so, you’ll be able to find what you need quickly and easily, reducing stress and making meal prep a breeze. Remember, the goal is to create a system that works for you, not against you. So, take your time, and don’t be afraid to adjust as you go – after all, it’s all about creating a kitchen that flows with your lifestyle.
5 Essential Tips to Tame Your Kitchen Chaos
- Start by purging any expired, unused, or broken items from your kitchen, and then categorize what’s left into groups like baking, cooking, and dining to make the organization process smoother
- Designate a ‘landing strip’ near the entrance of your kitchen where family members can place their keys, wallets, and bags to keep clutter at bay and create a sense of flow
- Implement a ‘zone cleaning’ approach where you divide your kitchen into sections – such as counters, sink, and stove – and clean one zone at a time to avoid feeling overwhelmed
- Utilize the often-wasted space on the back of cabinet doors by installing hooks, baskets, or a pegboard to hang frequently used items like pots, pans, and utensils, keeping them organized and within easy reach
- Schedule regular ‘kitchen audits’ every few months to maintain your newly organized space, get rid of anything that’s no longer needed, and make adjustments as necessary to keep your kitchen running efficiently
Key Takeaways for a More Organized Kitchen
Break down the overwhelming task of kitchen organization into smaller, manageable steps, such as clearing one cabinet at a time and implementing efficient workflow strategies
Utilize often-wasted spaces like the back of cabinet doors and the top of the refrigerator to maximize storage and reduce clutter
Create a maintenance routine, such as weekly wipe-downs and monthly deep cleans, to ensure your newly organized kitchen stays that way and becomes a sustainable part of your daily life
Organizing Your Kitchen, Simplified
The kitchen isn’t just a place to cook, it’s the heart of the home – and when it’s cluttered, the whole house feels it. By tackling one drawer, one shelf, and one habit at a time, you can transform your kitchen into a space that nourishes both body and soul.
Sloane Kendrick
Bringing Order to the Heart of Your Home
As we’ve worked through this guide to organizing your kitchen, we’ve covered some essential steps to transform your space into a haven of efficiency. From maximizing kitchen cabinet space to implementing efficient kitchen workflow strategies, each step has been designed to help you create a system that works for you, not against you. By breaking down the task into manageable chunks and focusing on one area at a time, you’ve taken the first steps towards a kitchen that is not only more organized but also more enjoyable to spend time in.
So, as you stand back to admire your newly organized kitchen, remember that maintenance is key. It’s not about creating a perfect space that never changes; it’s about embracing the process and making adjustments as needed. With your newfound systems in place, you’ll find that keeping your kitchen organized becomes second nature, freeing you up to focus on the things that bring you joy – whether that’s cooking up a storm, sharing meals with loved ones, or simply enjoying a quiet cup of coffee in your newly peaceful kitchen.
Frequently Asked Questions
How do I decide what kitchen items to keep, donate, or throw away during the organization process?
Let’s simplify this decision with a flowchart: keep items used daily or weekly, donate gently used items, and toss broken or expired ones. Ask yourself, “When was the last time I used this?” and “Can it be replaced if needed?
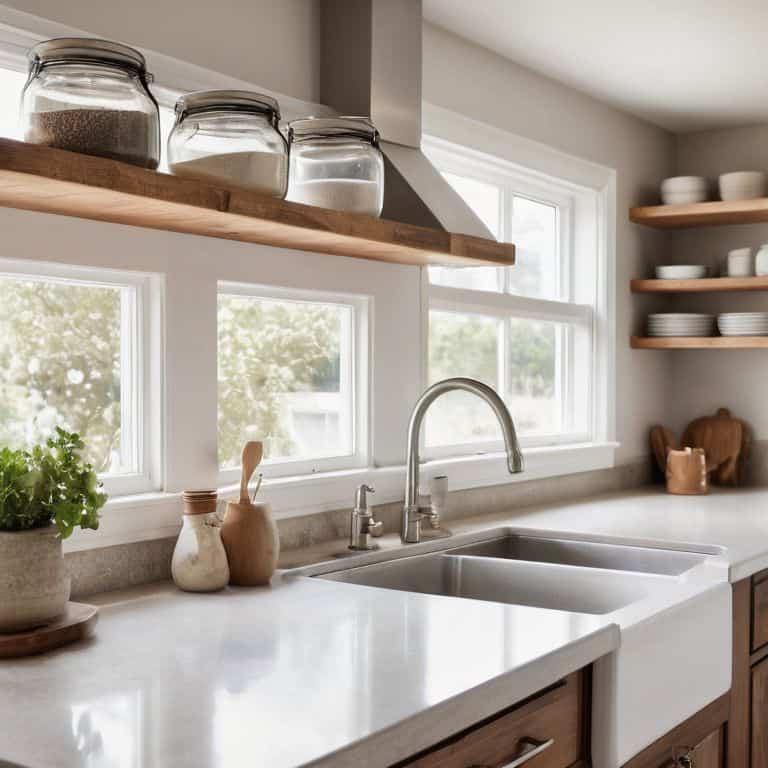
What are some creative ways to utilize the space under my kitchen sink for storage?
Let’s tackle that often-wasted space under your kitchen sink. Consider a slide-out drawer or a pivoting storage tray to maximize this area. You can also use adhesive hooks or a magnetic board to hang cleaning supplies, keeping them organized and out of the way. Think vertical and make the most of this hidden spot!
Can you provide tips on maintaining my newly organized kitchen over time, so it doesn't become cluttered again?
To keep your kitchen organized, I recommend scheduling regular “maintenance sessions” – like weekly wipe-downs and monthly deep cleans. Create a simple flowchart to track your progress and stay on track. Set reminders, too, so it becomes a habit. Trust me, a few minutes each week will save you from future chaos!