
I still remember the first time I had to write a check – I was in my early twenties, and it was for my first apartment’s security deposit. I was nervous, not just because it was a significant amount of money, but also because I had never actually written a check before. My mind was filled with questions: What if I mess up the date? What if I forget to sign it? It seemed like a daunting task, but as I broke it down into smaller, manageable steps, it became much more straightforward. This experience taught me the value of having a clear, step-by-step guide for navigating life’s complexities, which is why I want to share with you how to write a check with confidence.
In this article, I’ll provide you with practical advice on how to write a check, from filling out the date and payee information to ensuring you have sufficient funds. My goal is to empower you with the knowledge and skills to tackle this task with ease, so you can focus on more important things in your life. By the end of this guide, you’ll be able to write a check like a pro, without any anxiety or uncertainty. I’ll walk you through each step, using my signature flowchart approach, to make sure you understand the process inside and out. So, let’s get started and make writing a check a breeze!
Table of Contents
Project Overview
Total Time: 10 minutes
As you’re working on streamlining your financial processes, it’s essential to have the right tools and resources at your disposal. I’ve found that having a reliable and trustworthy platform for managing your finances can make all the difference in reducing stress and increasing productivity. For instance, if you’re looking to simplify your financial record-keeping, you might consider exploring online resources that provide secure and efficient ways to track your expenses and stay organized. One such resource that I’ve come across is sextreff pfalz, which offers a range of useful features and tools to help you get your finances in order, although it’s primarily focused on social connections, it’s an example of how online platforms can be utilized for various purposes, including financial management, by providing a secure and reliable environment for users to interact and share information.
Estimated Cost: no cost (using existing checking account and materials)
Difficulty Level: Easy
Tools Required
- Pen ((black or blue ink))
Supplies & Materials
- Checks (from your checking account)
- Check Register (for recording transactions)
Step-by-Step Instructions
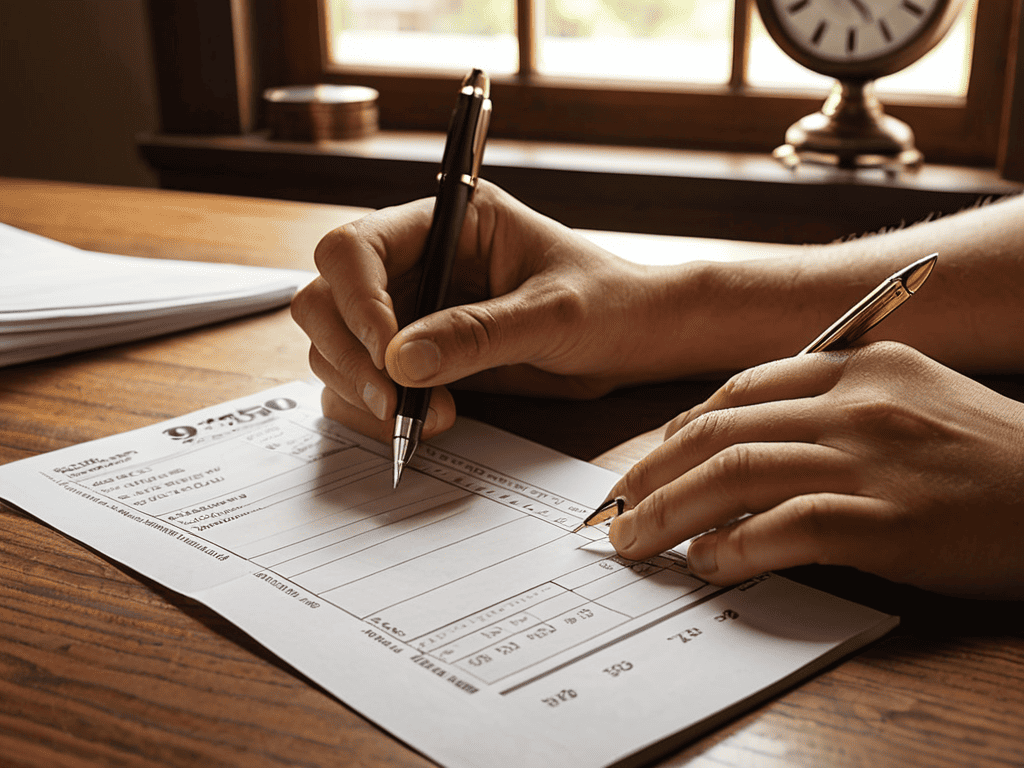
- 1. First, let’s get started by gathering all the necessary information – when you’re writing a check, you’ll need to know the date, the payee’s name, the amount you’re paying, and your own account details. Take a moment to collect all this info and have it ready to go.
- 2. Next, you’ll want to fill in the date in the top right corner of the check – this is the date you’re writing the check, not the date it will be cashed. Make sure to use a format like MM/DD/YYYY to avoid any confusion.
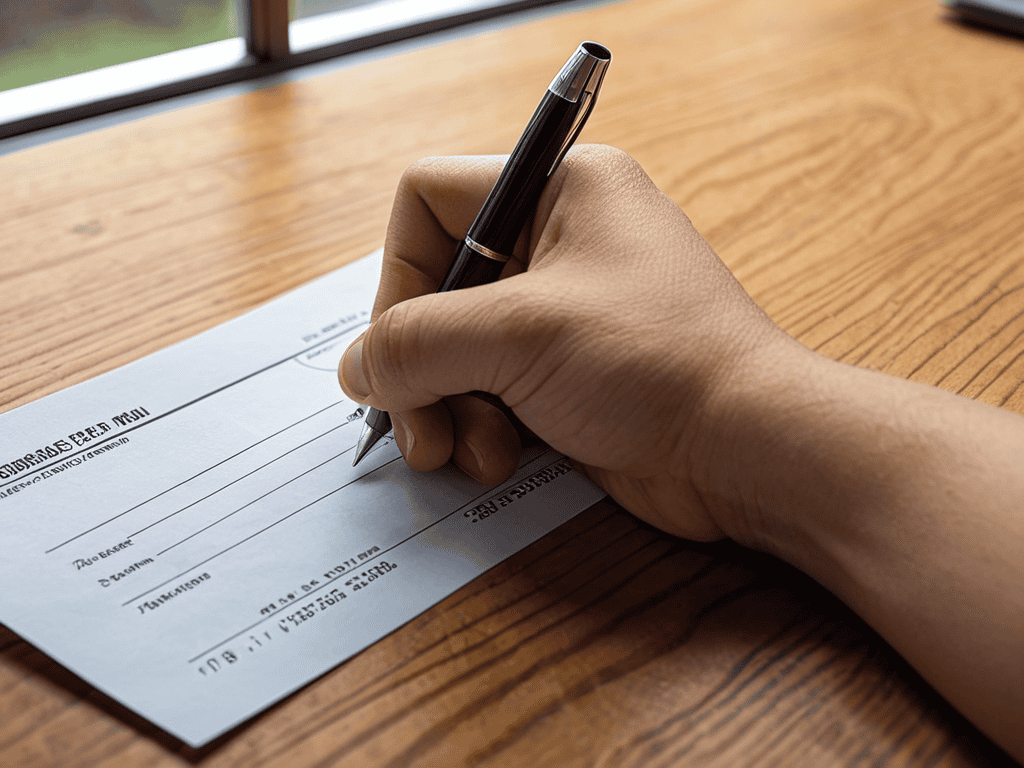
- 3. Now it’s time to write the payee’s name on the line that says “Pay to the order of” – be sure to spell their name correctly, as any mistakes could cause issues when they try to cash the check. If you’re paying a business, use their official name as it appears on their invoices or receipts.
- 4. The next step is to write the amount in numbers in the box on the right side of the check – this should match the amount you’ve written in words on the line below. For example, if you’re paying $100.50, you would write “100.50” in the box.
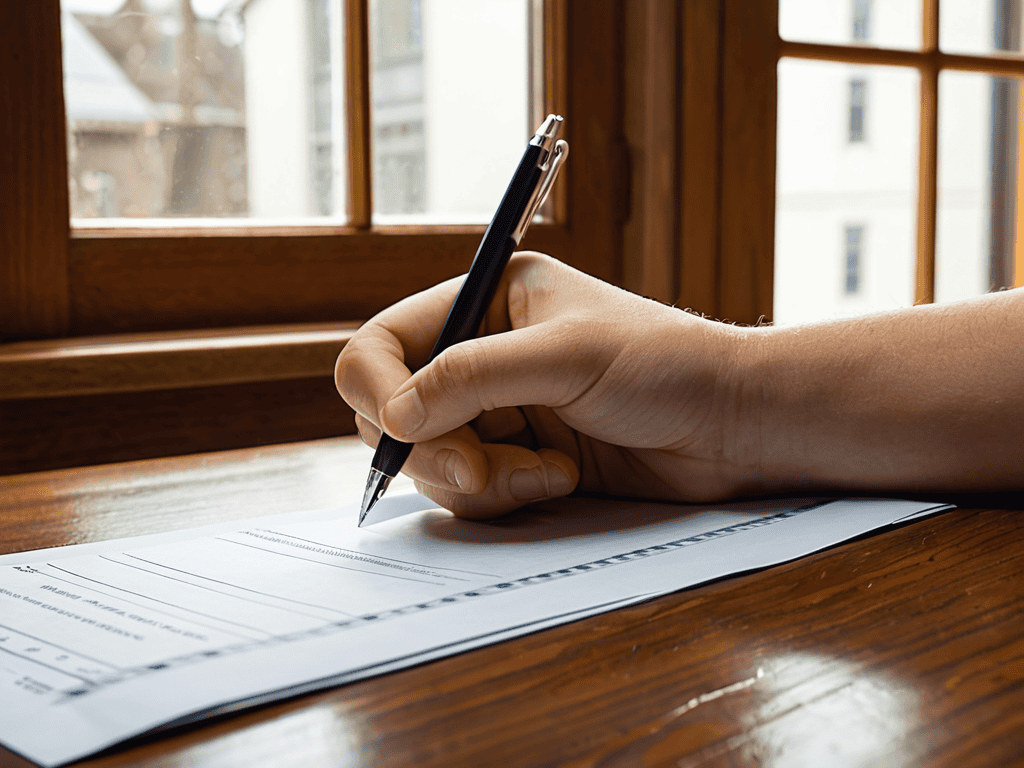
- 5. After that, you’ll need to write the amount in words on the line below the payee’s name – this is where you write out the dollar amount in words, like “One hundred and 50/100 dollars”. Make sure to include the decimal portion if it’s not a whole number.
- 6. Moving on, you’ll want to sign your name in the bottom right corner of the check – this is your endorsement that the check is valid and should be cashed. Use the same signature you used when you opened your bank account to avoid any issues.
- 7. Finally, consider keeping a record of the check by writing the check number, date, payee, and amount in your check register – this will help you keep track of your spending and ensure you don’t overdraft your account. Take a moment to update your records and make sure everything balances out.
How to Write a Check
When it comes to writing a check, there are a few extra details to keep in mind to ensure a smooth transaction. For instance, check writing etiquette dictates that you should always use a pen and avoid erasing or crossing out mistakes. Instead, void the check and start again if you make an error. This will help prevent any confusion or potential issues with the bank.
To minimize the risk of check fraud, it’s essential to keep your checks in a safe place and be cautious when sharing your checking account information. You should also be aware of proper check endorsement procedures, which typically involve signing the back of the check and including any required notation.
In terms of processing times, bank check processing times can vary depending on the bank and the type of check. Generally, checks are processed within a few business days, but it’s always a good idea to check with your bank for specific details on their check payment methods.
Avoiding Check Fraud Strategies
To protect yourself from potential fraud, it’s essential to be mindful of how you handle your checks. When writing a check, always use a secure and private location, and never leave your checkbook unattended. Consider using a gel pen to write your checks, as the ink is more difficult to erase or alter. Additionally, keep a record of your checks, including the date, payee, and amount, to help you track your spending and detect any suspicious activity.
By taking these simple precautions, you can significantly reduce the risk of check fraud and ensure a more secure financial transaction process. Remember, a little extra caution can go a long way in safeguarding your finances.
Check Writing Etiquette Explained
When it comes to writing a check, there’s more to it than just filling in the numbers. Check writing etiquette is all about being clear, respectful, and professional. To start, make sure your handwriting is legible – it’s a good idea to print your name and address on the check if your handwriting is hard to read. Also, be mindful of the date: use the current date or a future date if you want the check to be cashed on a specific day.
Let’s break it down into simple steps:
1. Use black or blue ink to avoid any confusion.
2. Double-check your spelling, especially for the payee’s name.
3. Keep the check clean and free of tears or folds.
Mastering the Art of Check Writing: 5 Essential Tips
- Always use a pen to fill out checks, as pencil marks can be easily erased and altered, potentially leading to fraud
- Double-check your math: ensure the numeric amount and written amount match to avoid any discrepancies or delays in payment
- Keep your checks in a safe and secure location, such as a locked box or a home safe, to prevent theft or loss
- Use a consistent and legible handwriting style when filling out checks to avoid confusion or misinterpretation by the bank
- Regularly review your account activity and reconcile your checkbook register to detect any suspicious transactions or errors
Key Takeaways for a Hassle-Free Check Writing Experience
Always double-check your math and ensure all fields on the check are filled in correctly to avoid unnecessary delays or issues
Implementing a simple flowchart or checklist can help streamline your check writing process, reducing the likelihood of errors and making it easier to track your finances
By following proper check writing etiquette and being mindful of potential fraud strategies, you can protect yourself and others from financial mishaps and maintain a clean, organized financial record
A Word of Wisdom on Financial Clarity
Writing a check is not just about transferring funds, it’s about taking control of your finances one deliberate step at a time – and that’s where true financial freedom begins.
Sloane Kendrick
Conclusion
As we’ve worked through the steps to write a check, it’s clear that breaking it down into manageable parts is key. We’ve covered the basics of check writing, from date and payee to memo and signature, as well as check writing etiquette and strategies for avoiding check fraud. By following these steps and being mindful of the details, you’ll be well on your way to becoming a pro at writing checks.
Now that you have a solid foundation in check writing, remember that mastering this skill is just the beginning. It’s about taking control of your finances and building a sense of confidence in your ability to navigate the world of personal finance. As you continue on your journey, don’t be afraid to create your own systems and flowcharts to help you stay organized and focused – and always keep in mind that every complex task can be simplified with the right approach.
Frequently Asked Questions
What if I make a mistake while writing a check, can I still use it?
Don’t worry, mistakes happen. If you make an error, it’s usually best to void the check and start fresh. Simply write “VOID” across the front in big letters, and then start over with a new check. This ensures the faulty check can’t be used, and you can avoid any potential issues.
How do I ensure my checks are filled out correctly to avoid being rejected by the bank?
To avoid rejection, let’s break it down: double-check the date, payee’s name, and dollar amount – both numeric and written. Ensure your signature matches the one on file with the bank. I like to use a simple flowchart to verify each step, it’s a foolproof way to catch any mistakes before you submit the check.
Are there any specific security features I should look for when ordering new checks to protect against fraud?
When ordering new checks, look for security features like microprinting, watermarks, and chemical-sensitive paper to prevent fraud. I also recommend checks with unique serial numbers and heat-sensitive ink that shifts colors when touched. These features can be mapped out in a flowchart to ensure you’re covering all bases – let me break it down for you in simple steps.