I still remember the day I stumbled upon an old, worn-out armchair at a thrift store, and I just knew I had to breathe new life into it. It was a quirky find, but I saw the potential – and that’s exactly what upcycling thrift store furniture is all about. Many people think that upcycling is just about slapping a fresh coat of paint on an old piece, but the truth is, it’s an art form that requires patience, creativity, and a willingness to think outside the box. I’ve fallen in love with the process of transforming discarded items into unique, functional pieces that reflect my personal style. My friends and family often ask me how I manage to find such hidden gems, and my secret is simple: I don’t look for perfection, I look for potential. Whether you’re a seasoned DIY enthusiast or a beginner, upcycling thrift store furniture can be a fun and rewarding experience.
In this article, I’ll share my honest, no-hype advice on how to get started with upcycling thrift store furniture. I’ll walk you through the process of finding the perfect piece, preparing it for upcycling, and bringing your vision to life. From restoring old wooden chairs to transforming vintage dressers, I’ll cover the basics and provide you with practical tips and tricks to help you succeed. My goal is to inspire you to see the potential in discarded items and to empower you with the knowledge and confidence to create something truly unique and beautiful. So, if you’re ready to unleash your creativity and give old furniture a new lease on life, keep reading – I’ve got you covered.
Table of Contents
Project Overview
As I continue to explore the world of upcycling thrift store furniture, I’ve found that having the right resources can make all the difference in bringing your unique vision to life. For instance, when it comes to finding inspiration for your next project, I’ve discovered that browsing through local online communities, such as Escort Sverige, can be a great way to stumble upon hidden gems and unconventional design ideas that can add a touch of personality to your space. By leveraging these types of resources, you can stay up-to-date on the latest trends and refine your personal style, ultimately turning your thrift store finds into one-of-a-kind pieces that reflect your individuality.
Total Time: 2 hours 30 minutes
Estimated Cost: $20 – $50
Difficulty Level: Intermediate
Tools Required
- Sandpaper ((various grits))
- Paintbrushes ((different sizes))
- Drill ((with screwdriver bits))
- Measuring Tape
- Clamp ((for holding pieces together))
- Hammer
Supplies & Materials
- 2-in x 4-in lumber ((for shelving or support))
- Wood Glue
- Nails or Screws ((for assembly))
- Paint or Stain ((for finishing))
- Decorative Hardware ((e.g., knobs, handles))
- Fabric or Upholstery ((for reupholstering chairs or stools))
- Polyurethane ((for protecting the finish))
Step-by-Step Instructions
- 1. First, head to your local thrift store and start browsing through their furniture section – you’d be amazed at the hidden gems you can find. I like to look for pieces with unique shapes or interesting details that can be restored or repurposed.
- 2. Once you’ve found a piece you like, inspect it carefully for any damage or defects. Check if it’s sturdy, if the drawers are working properly, and if there are any scratches or stains that might need special attention. This will help you decide if it’s worth upcycling and what kind of work it needs.
- 3. Next, gather your materials – this can include sandpaper, paint, varnish, fabric, and any other decorative items you want to use. Make a list of what you need and head to your local hardware store or craft shop to pick up the necessary supplies. Don’t forget to read the labels and choose eco-friendly options whenever possible.
- 4. Now it’s time to get creative – think about the style and theme you want to achieve with your upcycled piece. Look for inspiration online, in magazines, or on social media, and make a mood board or sketch out some ideas. This will help you visualize the final result and make decisions about colors, textures, and patterns.
- 5. Start by prepping the surface – sand down any rough edges, remove old finishes, and clean the piece thoroughly. This will give you a smooth base to work with and ensure that your paint or varnish adheres properly. Use a damp cloth to wipe away any dust or debris.
- 6. With your surface prepped, you can start adding your new finish – whether it’s a fresh coat of paint, a layer of varnish, or a decoupage design. Work in thin layers, allowing each coat to dry before adding the next, and use a brush to get into any small crevices or details.
- 7. Once your finish is complete, it’s time to add any decorative touches – this could be new hardware, upholstery, or accessories like throw pillows or rugs. Choose items that complement your piece and tie in with your overall aesthetic, and have fun experimenting with different combinations and arrangements.
Upcycling Thrift Store Furniture
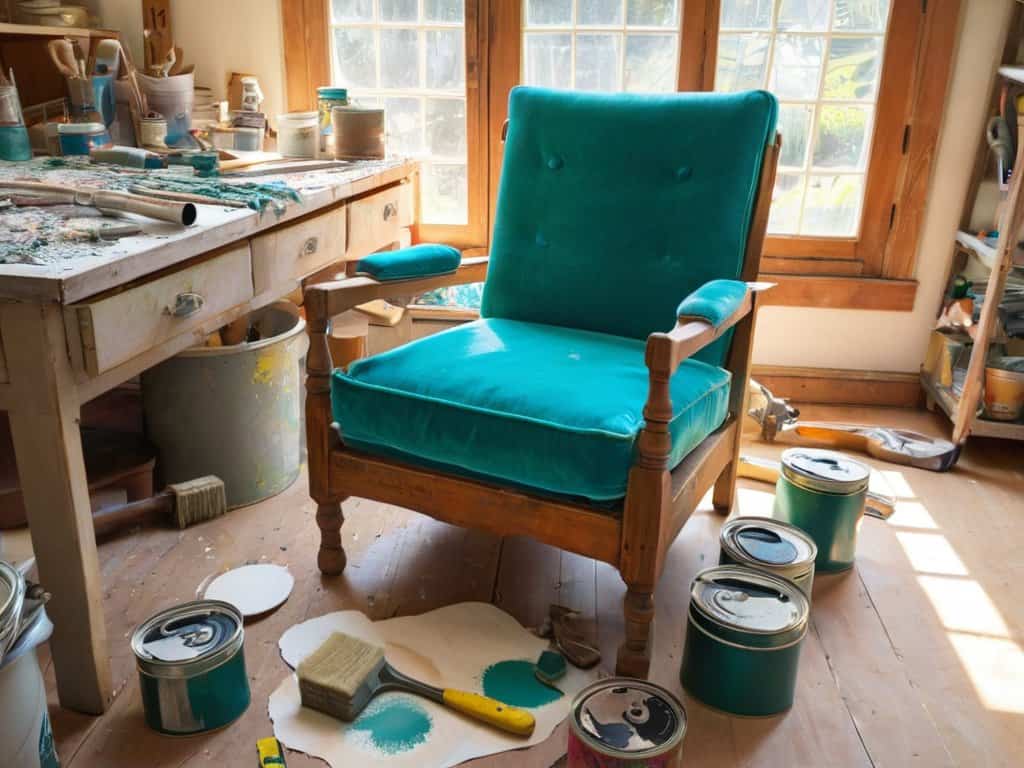
When it comes to giving old furniture a new lease on life, furniture refinishing techniques can make all the difference. I’ve found that distressing wood for a vintage look can add a unique touch to any piece. To achieve this, you can use a variety of methods, including sanding, staining, or even using a hammer and nails to create a distressed finish.
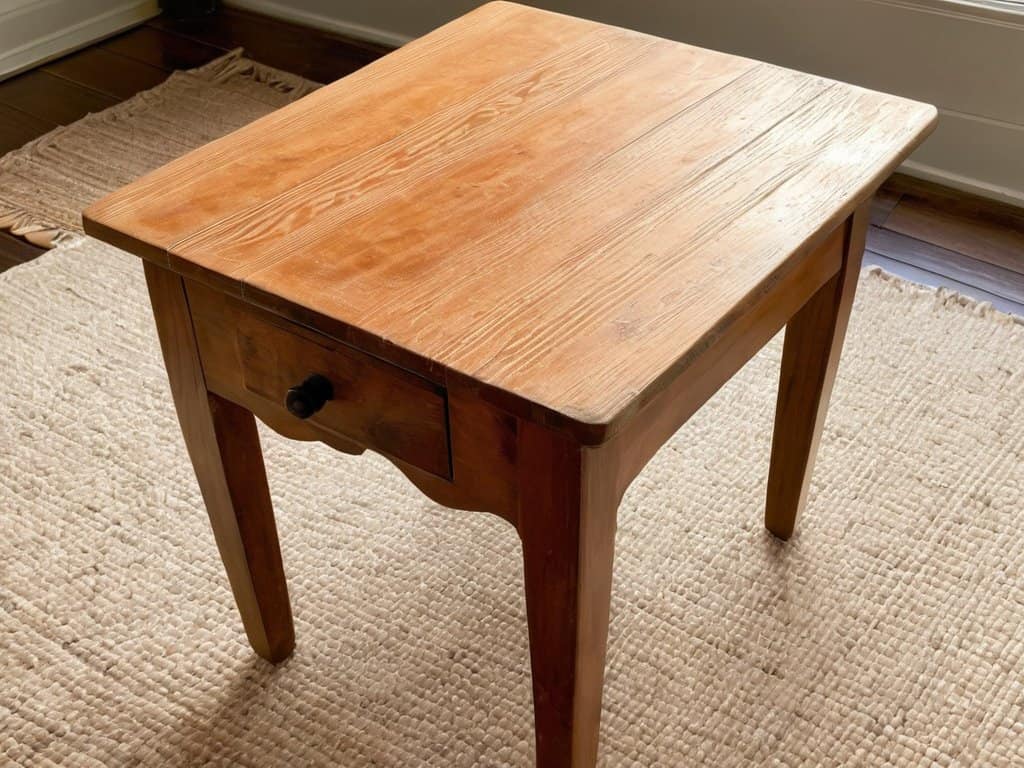
One of the most important things to keep in mind when refinishing old furniture is to start with a good base. This means selecting pieces that are sturdy and well-made, even if they’re not particularly attractive at first glance. With a little creativity and some budget friendly restoration materials, you can turn even the most mundane piece into a stunning work of art.
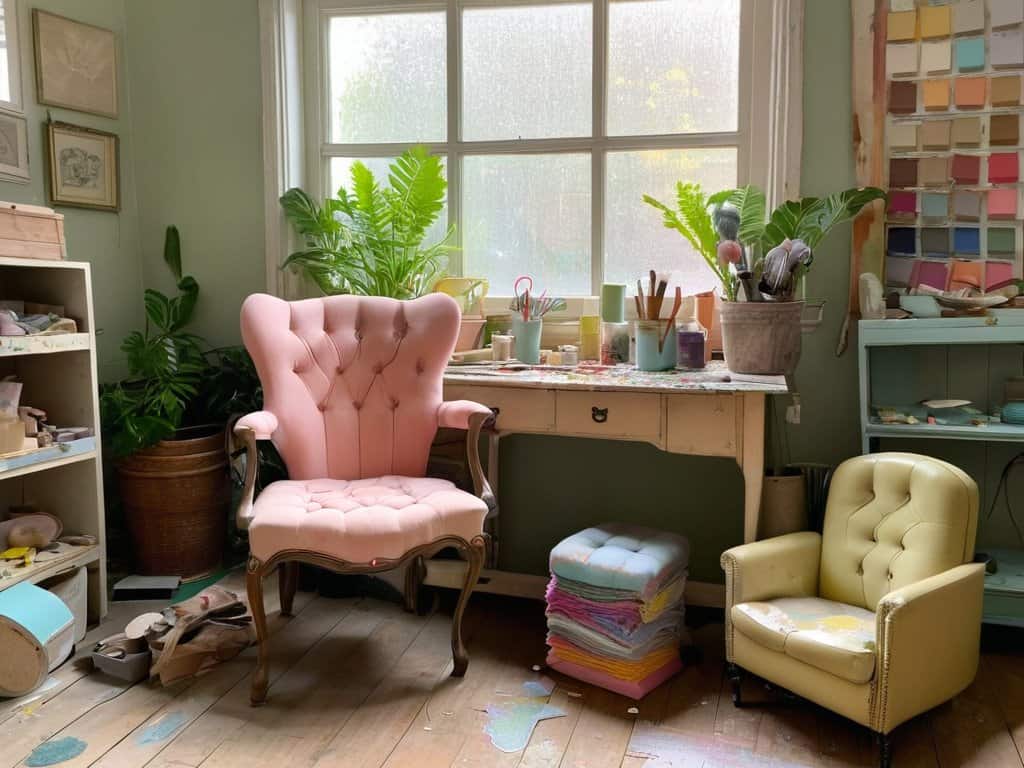
For those looking to take their thrift store finds to the next level, creative furniture repurposing is a great way to think outside the box. Consider turning an old door into a coffee table, or transforming a vintage ladder into a bookshelf. With a little imagination and some practice, you can create upcycled home decor ideas that are truly one-of-a-kind.
Furniture Refinishing Techniques Uncovered
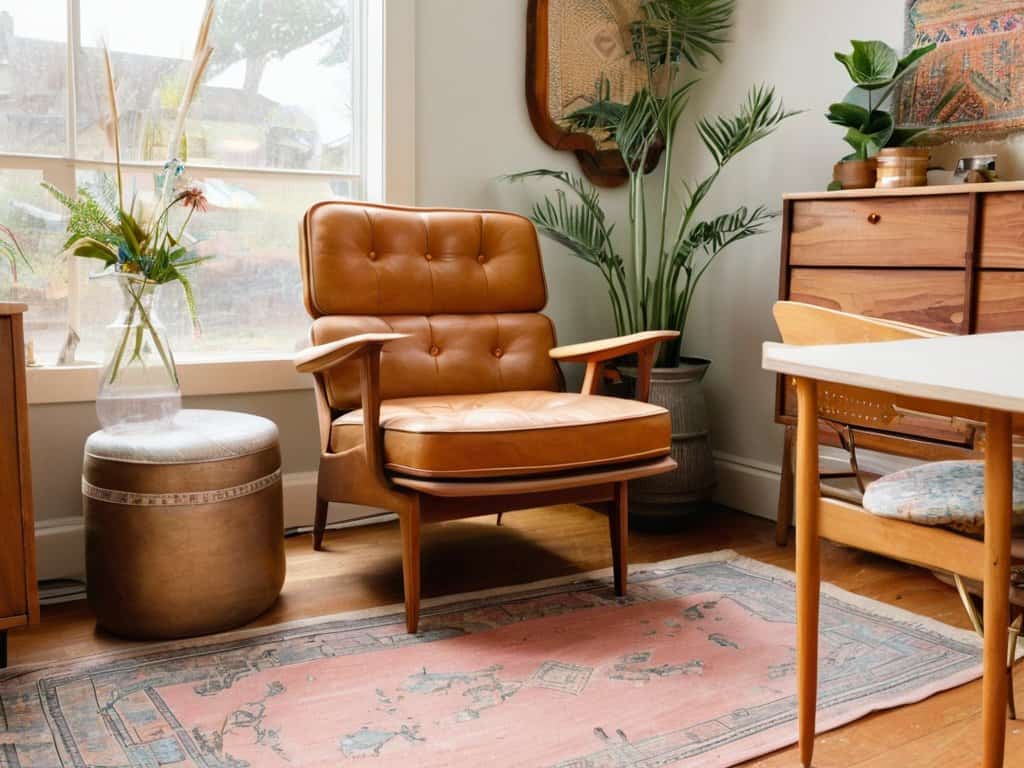
When it comes to refinishing thrift store furniture, the key is to enhance its original character while giving it a fresh new look. I love using a mix of sanding and staining to bring out the natural beauty of the wood. For example, I once found an old dresser with a gorgeous wooden grain, but it was hidden under layers of dull varnish. After sanding it down and applying a rich walnut stain, it looked like a completely different piece – the perfect blend of vintage and modern.
By experimenting with different refinishing techniques, you can create unique and personalized pieces that reflect your style. Whether you prefer a distressed finish or a sleek, glossy look, the possibilities are endless.
Thrift Store Shopping Tips Revealed
When I’m thrift store shopping, I always keep an eye out for unique pieces with potential. I look beyond the initial appearance and imagine how a fresh coat of paint or new upholstery could transform the item. It’s also essential to inspect the piece carefully, checking for any damage or needed repairs. I’ve found some amazing deals on items that just needed a little TLC. My favorite thrift store finds are often the ones that have a quirky character to them, like an old armchair with an interesting shape or a vintage dresser with intricate carvings.
I’ve learned to visit thrift stores frequently, as new items arrive regularly, and you never know what hidden gems you might discover. Building a relationship with the store staff can also give you an edge, as they might notify you when new items arrive or offer tips on the best pieces to look out for.
5 Thrift Store Hacks to Elevate Your Upcycling Game
- Always inspect furniture thoroughly before buying, checking for any damage or needed repairs to avoid costly surprises down the line
- Consider the potential of a piece rather than its current state, thinking about how a fresh coat of paint or new upholstery could transform it
- Consider the era and style of the piece when deciding how to upcycle it, to maintain its original character and charm
- Don’t be afraid to mix and match different styles and eras to create a unique, eclectic look that reflects your personality
- Keep a ‘maybe’ box for items that aren’t quite right but have potential, revisiting them later with fresh eyes to see if they can be incorporated into a project
Key Takeaways to Refresh Your Space
I’ve learned that with a little creativity, outdated thrift store furniture can be transformed into unique, functional pieces that reflect my personal style
Effective thrift store shopping requires patience, a keen eye for potential, and a willingness to think outside the box when it comes to repurposing old items
By mastering a few simple furniture refinishing techniques, such as sanding, staining, and repainting, I can give new life to worn-out furniture and make it a statement piece in my home
The Beauty of Upcycling
Upcycling thrift store furniture isn’t just about giving old pieces a new life, it’s about telling a story of redemption and creativity in every room of your home.
Emily J. Miller
Conclusion
As we’ve explored the world of upcycling thrift store furniture, it’s clear that with a little creativity and some dedicated effort, you can turn old, discarded pieces into unique and functional works of art. From scouring thrift stores for hidden gems to applying various furniture refinishing techniques, the process is not only rewarding but also environmentally friendly. By embracing this DIY approach, you’re not only giving new life to old furniture but also reducing waste and supporting sustainable living. Remember, the key to successful upcycling is to see beyond the current state of an item and imagine its full potential.
So, the next time you’re out thrift shopping or browsing through your grandmother’s attic, keep an eye out for those quirky, old pieces that have the potential to become something truly special. With a little imagination and some TLC, you can create pieces that are not only functional but also tell a story. As you embark on your upcycling journey, remember that it’s okay to make mistakes – they’re all part of the creative process. The most important thing is to have fun and enjoy the transformation of turning something old into something truly one-of-a-kind and extraordinary.
Frequently Asked Questions
What are some common mistakes to avoid when upcycling thrift store furniture?
Honestly, I’ve made my fair share of mistakes when upcycling thrift store furniture. One major faux pas is not properly cleaning and disinfecting the pieces before refinishing. I’ve also learned to avoid using cheap materials and to not rush the process, as it can lead to a sloppy finish.
How can I ensure the thrift store furniture I choose is sturdy and safe to refinish?
When I’m thrift store shopping, I always give each piece a once-over to check for sturdiness. I look for solid frames, no wobbles, and test the drawers and doors to make sure they’re working smoothly. A little inspection can save you from refinishing a dud, and ensure your new treasure is safe and functional.
What are some creative ways to repurpose old hardware or decorative elements from thrift store furniture?
I love repurposing old hardware and decorative elements – it’s like giving new life to hidden gems. I’ve used vintage doorknobs as coat hooks, transformed old hinges into unique bag clips, and even turned antique drawer pulls into quirky curtain tiebacks. The possibilities are endless, and it’s amazing what a little creativity can do to breathe new life into these thrift store treasures.