I still remember the first time I tried to make my own DIY Concrete Planters. I was excited to add a personal touch to my garden, but all the tutorials I found online seemed to be filled with complicated instructions and overly expensive materials. It was frustrating to see that most of them required special equipment or a lot of prior experience with concrete work. But I didn’t give up, and after some trial and error, I discovered that making your own planters can be incredibly simple and rewarding. With just a few basic materials and some patience, you can create unique and beautiful planters that will elevate your outdoor or indoor space.
In this article, I’ll share my no-nonsense approach to making DIY Concrete Planters. You’ll learn how to mix and pour concrete, create custom molds, and add decorative touches to make your planters truly special. I’ll walk you through each step of the process, from preparation to completion, and provide you with practical tips and tricks to ensure your project turns out successfully. By the end of this guide, you’ll be equipped with the knowledge and confidence to create your own stunning DIY Concrete Planters and add a touch of industrial chic to your home.
Table of Contents
Project Overview
Total Time: 2 hours 30 minutes
Estimated Cost: $20 – $50
Difficulty Level: Intermediate
Tools Required
- Mixing bucket (Large enough to mix concrete)
- Trowel (For mixing and smoothing concrete)
- Gloves (To protect hands from concrete)
- Safety goggles (To protect eyes from debris)
- Mold or form (To shape the planter, can be a plastic container or a wooden frame)
- Level (To ensure the planter is even)
- Saw (To cut wooden frames if needed, about 2 inches thick lumber)
- Drill (To make drainage holes, using a drill bit of 1/4 inches)
Supplies & Materials
- Concrete mix (Available in 50-pound bags)
- Water (For mixing with concrete)
- Sand (Optional, for improved drainage)
- Gravel (Optional, for improved drainage)
- Sealant (Optional, to protect the planter from weathering)
- Paint or stain (Optional, for decorative purposes)
Step-by-Step Instructions
- 1. First, let’s get started with preparing the materials needed for our DIY concrete planters. We’ll need a few basic ingredients like concrete mix, water, a bucket or container to mix it in, and some sort of mold to shape our planters. You can use anything from plastic containers to cardboard tubes to create unique shapes and sizes.
- 2. Next, we need to prepare our mold by applying a release agent to ensure that the concrete planter can be easily removed once it’s set. This can be something as simple as cooking spray or oil. Apply a thin, even layer to the inside of your mold, making sure to cover all surfaces that will come into contact with the concrete.
- 3. Now it’s time to mix our concrete. In a large bucket, combine one part concrete mix with the recommended amount of water, usually found on the packaging. Mix the combination thoroughly until it reaches a smooth consistency, similar to thick batter. Be careful not to add too much water, as this can weaken the structure of your planter.
- 4. With our concrete mix ready, it’s time to fill our mold. Pour the mix into the prepared mold, making sure to fill it to the top. Use a stick or spoon to remove any air pockets that may form, ensuring that the concrete is evenly distributed throughout the mold.
- 5. After filling the mold, we need to let the concrete set and harden. This can take anywhere from 24 to 48 hours, depending on the type of concrete mix you’re using and the ambient temperature and humidity. It’s crucial to let it set undisturbed during this time to achieve the best results.
- 6. Once the concrete has hardened, it’s time to remove it from the mold. Gently flip the mold over and tap it lightly to release the planter. If it doesn’t come out easily, you can run a knife or thin tool around the edges to help loosen it. Be careful not to damage the concrete or the mold.
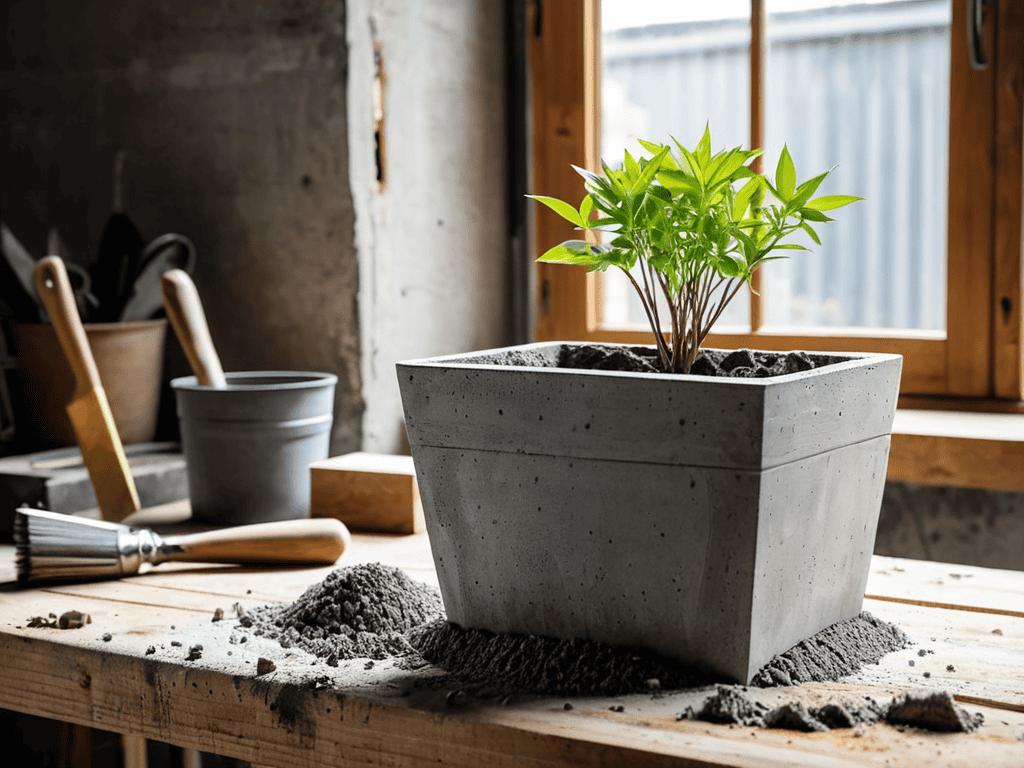
- 7. Finally, our DIY concrete planters are ready to use. You can leave them as they are for a more industrial look or decorate them with paint, decals, or mosaic tiles to add some color and personality. Just remember to seal them with a waterproof coating if you plan to use them outdoors or with live plants to protect the concrete from the elements.
Diy Concrete Planters
When working with concrete, it’s essential to consider the best concrete mix for planters to ensure durability and longevity. A good mix should have the right balance of cement, aggregate, and water to achieve the desired consistency and strength. Additionally, using concrete planter molds for sale can help you create unique and uniform shapes, making your planters stand out.
To add an extra layer of protection and make cleaning easier, learning how to seal concrete pots is a great idea. This simple step can help prevent water from seeping into the concrete and reduce the risk of cracking. Moreover, sealing your planters can also enhance their appearance, making them look more vibrant and decorative concrete planter ideas can be achieved with various colors and finishes.
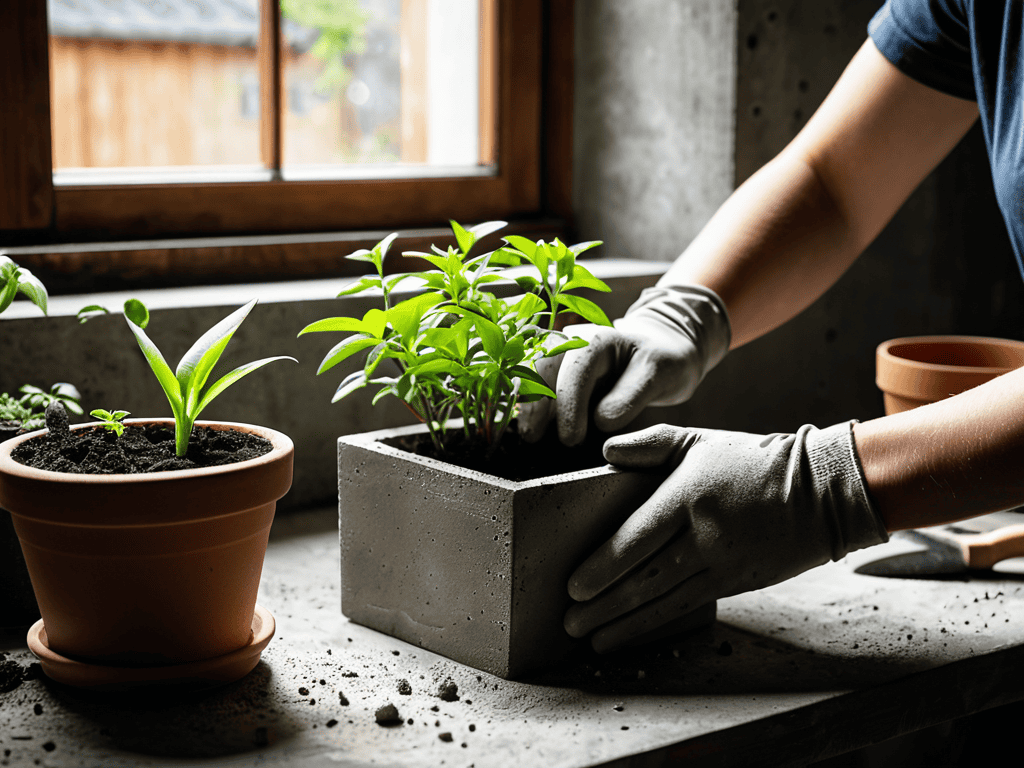
For those new to concrete planters, starting with small concrete planter projects can be a great way to build confidence and skills. Begin with a simple design, and as you gain experience, you can move on to more complex projects. Remember to follow proper concrete planter care and maintenance techniques to keep your planters looking their best and ensure they remain a beautiful addition to your garden or indoor space.
Casting With Concrete Planter Molds
Casting with Concrete Planter Molds
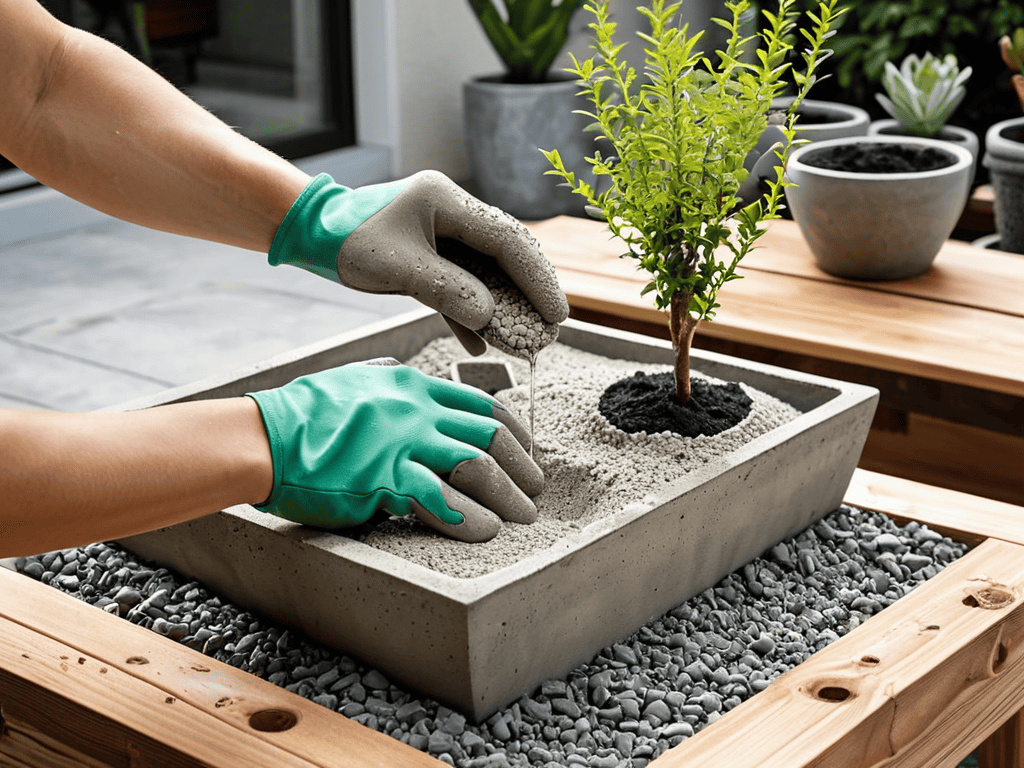
When using concrete planter molds, it’s essential to prepare them properly to ensure a smooth finish. Apply a release agent to the mold to prevent the concrete from sticking. Then, mix your concrete according to the instructions and pour it into the mold. Vibrating the mold gently can help eliminate air pockets, resulting in a more even texture. Allow the concrete to set and harden completely before removing it from the mold.
As you’re working on your DIY concrete planters, it’s essential to think about the overall aesthetic you want to achieve in your garden or indoor space. To help you find the perfect balance of style and functionality, consider exploring different design inspirations and resources. For instance, if you’re looking for unique ideas to spice up your outdoor or indoor area, you can check out websites that specialize in home decor and gardening, such as sexkontakte hamburg, which might have some interesting and unconventional suggestions to get your creative juices flowing. Remember, the key to creating a beautiful space is to have fun and experiment with different looks until you find the one that works best for you.
This method offers a wide range of creative possibilities, as you can find or create molds in various shapes and sizes to suit your desired planter design. From modern geometric shapes to more traditional floral patterns, the options are endless, and you can experiment with different mold designs to add a personal touch to your planters.
Sealing for Best Concrete Mix Results
To ensure your DIY concrete planters withstand the elements and maintain their integrity, sealing is a crucial step. Apply a concrete sealer to protect the planters from water damage and staining. This will also make them easier to clean and maintain. Choose a sealer that suits your desired finish, whether it’s a natural look or a decorative sheen.
A good sealant will help prevent cracks and extend the life of your planters. Apply the sealer according to the manufacturer’s instructions, usually with a brush or spray. Make sure to follow any recommended drying times before filling the planters with soil and plants.
5 Essential Tips for a Stunning DIY Concrete Planter

- Choose the right concrete mix: Select a high-quality concrete mix specifically designed for planters to ensure durability and longevity
- Prepare your mold: Apply a release agent to your mold to prevent the concrete from sticking and to make removal easier
- Don’t overmix: Mix your concrete just until the ingredients come together, overmixing can lead to a weak and porous planter
- Add a personal touch: Consider adding decorative elements such as rocks, shells, or glass to give your planter a unique and personalized look
- Cure with care: Allow your planter to cure slowly and naturally, avoiding direct sunlight and extreme temperatures to prevent cracking and damage
Key Takeaways for Your DIY Concrete Planters
By following a simple step-by-step process, you can create your own unique concrete planters that reflect your personal style and add an industrial touch to your garden or indoor space
Using concrete planter molds can help you achieve consistent shapes and sizes, while proper sealing is crucial for protecting your planters from the elements and ensuring they remain durable and long-lasting
With a little creativity and some basic materials, you can create DIY concrete planters that not only enhance the beauty of your plants but also become a statement piece in your home or garden, allowing you to express your creativity and personalize your space
The Beauty of Creation
There’s something therapeutic about getting your hands dirty and watching a lump of concrete transform into a beautiful planter that tells a story of your own making.
A DIY Enthusiast
Conclusion
As we conclude this journey into the world of DIY concrete planters, it’s essential to summarize the key takeaways. From preparing the right concrete mix to sealing your finished planters for durability, each step plays a crucial role in the overall process. Whether you’re using concrete planter molds or opting for a more free-form approach, the ability to customize your planters to fit your unique style and space is a significant advantage of DIY projects. By following the steps outlined in this guide, you’ll be well on your way to creating beautiful and functional planters that add a personal touch to your garden or indoor space.
As you embark on your DIY concrete planter project, remember that it’s not just about the end result – it’s about the journey of creation. The process of getting your hands dirty, experimenting with different molds and mixes, and watching your vision come to life can be incredibly rewarding. So, don’t be afraid to think outside the box and try new things. With a little patience and practice, you’ll be creating stunning DIY concrete planters that reflect your personality and style, adding a touch of industrial chic to your home and garden.
Frequently Asked Questions
What are some common mistakes to avoid when working with concrete to ensure my planters turn out smoothly?
When working with concrete, beware of incomplete mixing, inadequate mold prep, and insufficient curing time – these common mistakes can lead to uneven textures, stuck planters, or worse, a crumbly mess. Take your time, and make sure to follow each step carefully to achieve smooth, professional-looking results.
How do I achieve different colors or textures for my DIY concrete planters?
To add some personality to your planters, try mixing in different aggregates like pebbles or glass beads for unique textures. For a pop of color, experiment with concrete dyes or pigments – just be sure to follow the manufacturer’s instructions for the best results. You can also get creative with acid stains or metallic powders for a truly one-of-a-kind look.
Can I use DIY concrete planters for outdoor plants that are exposed to heavy rain or extreme temperatures?
Absolutely, DIY concrete planters can withstand outdoor conditions, but make sure to seal them properly to prevent water seepage and damage from extreme temps. A good sealant will be your planter’s best friend, protecting it from the elements and keeping your plants happy and healthy.